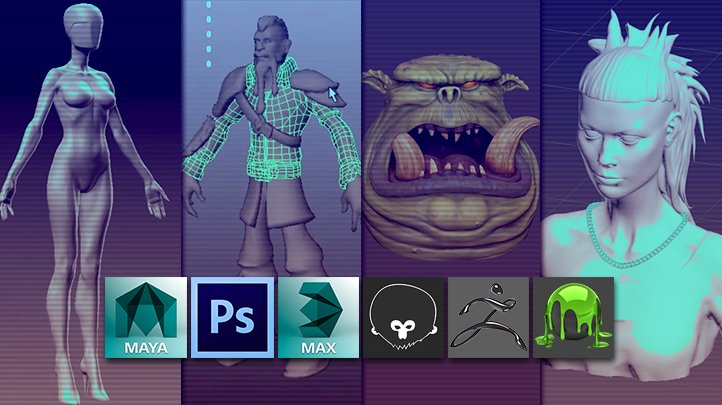
Welcome to the captivating world of 3D animation, where imagination meets technology to create mesmerizing visual experiences. Whether you’re an aspiring animator or a curious enthusiast, this step-by-step guide will take you on a journey through the creative process of 3D animation, from concept to completion.
Step 1: Concept Development Every great animation begins with a compelling concept. Start by brainstorming ideas and sketching out rough storyboards to visualize your vision. Consider the mood, theme, and characters of your animation, and develop a narrative arc that will engage your audience from start to finish.
Step 2: Character Design and Modeling Once you’ve solidified your concept, it’s time to bring your characters to life. Begin by designing and sketching out character concepts, exploring different shapes, sizes, and personalities. Once you’ve settled on a design, it’s time to move into the digital realm and create a 3D model using specialized software such as Blender, Maya, or ZBrush. Focus on creating clean topology and realistic proportions to ensure smooth animation later on.
Step 3: Rigging and Animation With your characters modeled, it’s time to rig them for animation. Rigging involves creating a skeleton or “armature” for your character and assigning controls to manipulate its movement. This allows you to pose and animate your character with ease. Once rigged, it’s time to breathe life into your characters through animation. Use keyframe animation techniques to define poses and movements, paying attention to timing, spacing, and fluidity.
Step 4: Texturing and Shading With your characters animated, it’s time to add color and texture to bring them to life. Use texture painting tools to add detail and realism to your models, applying textures such as skin, fur, or clothing. Experiment with different shading techniques to achieve the desired look and feel for your characters, whether it’s a cartoonish style or hyper-realistic rendering.
Step 5: Lighting and Rendering Now that your characters are fully textured and shaded, it’s time to set the stage with lighting. Experiment with different lighting setups to create mood and atmosphere, using techniques such as global illumination and ambient occlusion to enhance realism. Once satisfied with the lighting, it’s time to render your animation frames using a rendering engine such as Arnold, V-Ray, or Cycles. Be patient—rendering can be time-consuming, but the results are worth the wait.
Step 6: Post-Production and Editing With your animation rendered, it’s time to polish it up in post-production. Use compositing software such as Adobe After Effects or Nuke to add special effects, color correction, and sound effects to enhance the final product. Pay attention to pacing and timing during the editing process, ensuring that your animation flows smoothly from scene to scene.


Hi, this is a comment.
To get started with moderating, editing, and deleting comments, please visit the Comments screen in the dashboard.
Commenter avatars come from Gravatar.